- Published on
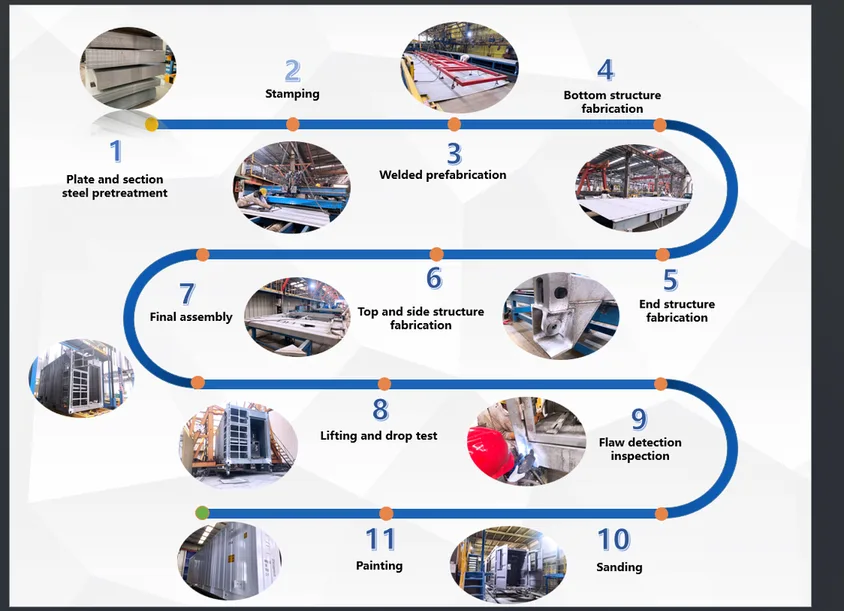
The process of container shell:
Step 1: Plate and section steel pretreatment
Step 2: Stamping
Step 3: Welded prefabrication
Step 4: Bottom structure, End structure, Top and side structure fabrication
Step 5: Final assembly
Step 6: Lifting and drop test
Step 7: Flaw detection inspection
Step 8: Sanding
Step 9: Painting
Step 1: Plate and section steel pretreatment
Step 2: Stamping
Step 3: Welded prefabrication
Step 4: Bottom structure, End structure, Top and side structure fabrication
Step 5: Final assembly
Step 6: Lifting and drop test
Step 7: Flaw detection inspection
Step 8: Sanding
Step 9: Painting
TLS offshore containers specialize in providing customized solutions and comply with strict offshore standards in our production process
If you want to know more details, please feel free to contact us.
E-mail: sales@tls-containers.com
Hotline: +65-65637288; +65-31386967
If you want to know more details, please feel free to contact us.
E-mail: sales@tls-containers.com
Hotline: +65-65637288; +65-31386967
Written by Oliver
- Published on
The production process and requirements for TLS offshore container are as below:
1. Produce the container frame and weld the container.
All primary structural welds are required to be welded by a class-certified welder, and full penetration welding is required. For containers that have passed the third-party inspection, they are sprayed according to the paint process, and the paint package is suitable for the marine environment
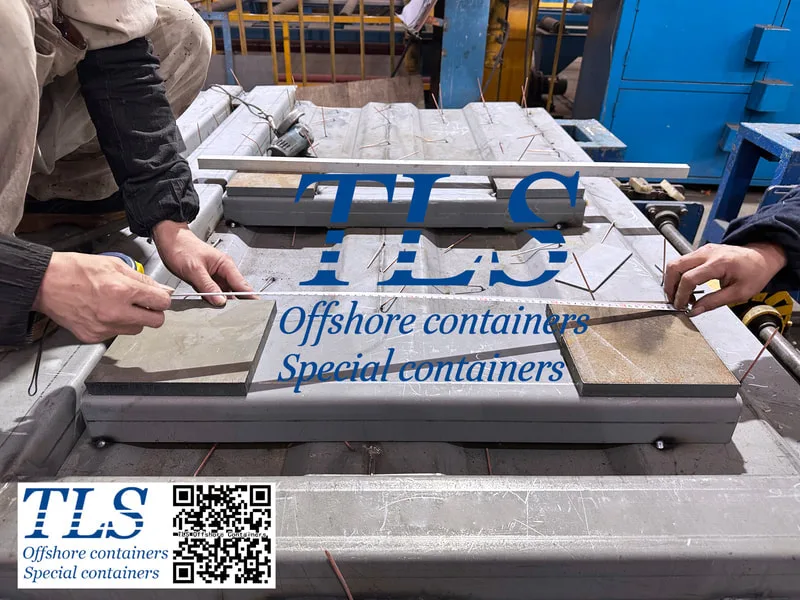
2. Install the floor.
First, calcium silicate plates were laid on the lower deck, then fixed steel mesh was installed on the surface, then the upper deck dressings were laid on the steel mesh, and finally the deck dressings were laid on the floor. After construction is complete, the flatness of the floor is measured and accepted by professional quality inspectors.
3. Lay down insulation material.
Fix the nails in advance at the locations where the rock wool insulation needs to be laid in the container. When attaching the nails, reserve space to make sure that the nails are firmly attached according to the standard. Laying of rock wool ensures that the length of the overlapping surface is sufficient, and the joints are covered with fireproof tape.
4. Install water pipes, air pipes, and cable trays.
Pre-lay insulation. Reserve the supporting boom needed to install the pipe on the top plate of the container to ensure that the pipe is straight and firmly secured.
5. Install interior trim wall panels.
Install the fixing slot of the fixing plate first, and then install the inner panel in the fixing slot. Before installation, ensure that the surface of the wall panel and the ceiling is smooth and flat, and ensure that the splicing gap is neat and straight.
6. Install the furniture and appliances. The furniture in the container must be installed and secured according to the requirements and locations in the preliminary design drawings. The power connection of the relevant equipment shall be constructed in accordance with the regulations and must be inspected by qualified quality inspectors during this period.
7. Testing & Acceptance
TLS accepts client's on-site inspection, video inspection, graphic inspection, and other methods for acceptance. We will only ship the containers after they pass the acceptance.
1. Produce the container frame and weld the container.
All primary structural welds are required to be welded by a class-certified welder, and full penetration welding is required. For containers that have passed the third-party inspection, they are sprayed according to the paint process, and the paint package is suitable for the marine environment
2. Install the floor.
First, calcium silicate plates were laid on the lower deck, then fixed steel mesh was installed on the surface, then the upper deck dressings were laid on the steel mesh, and finally the deck dressings were laid on the floor. After construction is complete, the flatness of the floor is measured and accepted by professional quality inspectors.
3. Lay down insulation material.
Fix the nails in advance at the locations where the rock wool insulation needs to be laid in the container. When attaching the nails, reserve space to make sure that the nails are firmly attached according to the standard. Laying of rock wool ensures that the length of the overlapping surface is sufficient, and the joints are covered with fireproof tape.
4. Install water pipes, air pipes, and cable trays.
Pre-lay insulation. Reserve the supporting boom needed to install the pipe on the top plate of the container to ensure that the pipe is straight and firmly secured.
5. Install interior trim wall panels.
Install the fixing slot of the fixing plate first, and then install the inner panel in the fixing slot. Before installation, ensure that the surface of the wall panel and the ceiling is smooth and flat, and ensure that the splicing gap is neat and straight.
6. Install the furniture and appliances. The furniture in the container must be installed and secured according to the requirements and locations in the preliminary design drawings. The power connection of the relevant equipment shall be constructed in accordance with the regulations and must be inspected by qualified quality inspectors during this period.
7. Testing & Acceptance
TLS accepts client's on-site inspection, video inspection, graphic inspection, and other methods for acceptance. We will only ship the containers after they pass the acceptance.
- Published on
Offshore shipping containers are widely used for the transportation and hoisting of goods or equipment between offshore facilities and ships in harsh environments with high temperature, high humidity, and high salt spray. Therefore, there are extremely high requirements for the anti-corrosion of the surface of the offshore container.
The coating process steps of TLS are as follows:
1. Preprocessing
Remove the oxide scale, rust, grease, dirt, and other attachments on the surface of the exposed steel structure to ensure the anti-corrosion performance of the coating; zinc-rich primers are applied automatically on the assembly line after the steel is shot-blasted. It temporarily protects the surface of freshly shot steel, preventing it from rusting in the gaps made during the container's manufacture.
2. Shot-blasted the whole container
Before painting, the surface of the weld and the heat sensitive area of the weld should be shot-blasted. The surface of the steel structure should be free of burrs, bumps, dust, dirt, no painting, sharp edges, and all rough-cut edges should be ground to a radius of at least 2mm;
3. Pre-coating
Pre-coating is applied to areas that are not easy to coat, including, but not limited to, the edges of steel plates, welds, corners, bolt holes, beam edges, and other areas that are difficult to paint.
4. Spray
Each coat should be applied evenly over the entire surface, and defects such as missing paint, sags, and drips must be avoided. And each coating should contain no pinholes, blisters, and leaks.
5. Drying: Speed up the curing process.
TLS uses environmentally friendly water-soluble paints, and the coating operators have relevant technical certifications. TLS containers are not prone to corrosion, paint failure, fading and discoloration which can make the container work better for its use value.
- Published on
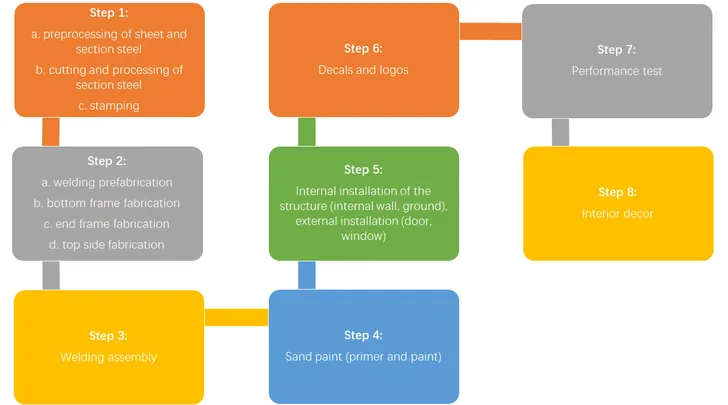
THE PROCESS OF CONTAINER MANUFACTURING
Step 1: a. preprocessing of sheet and section steel b. cutting and processing of section steel c. stamping
Step 2: a. welding prefabricationb. bottom frame fabrication c. end frame fabricationd. top side fabrication
Step 3: Welding assembly
Step 4: Sand paint (primer and paint)
Step 5: Internal installation of the structure (internal wall, ground), external installation (door, window)
Step 6: Decals and logos
Step 7: Performance test
Step 8: Interior decor
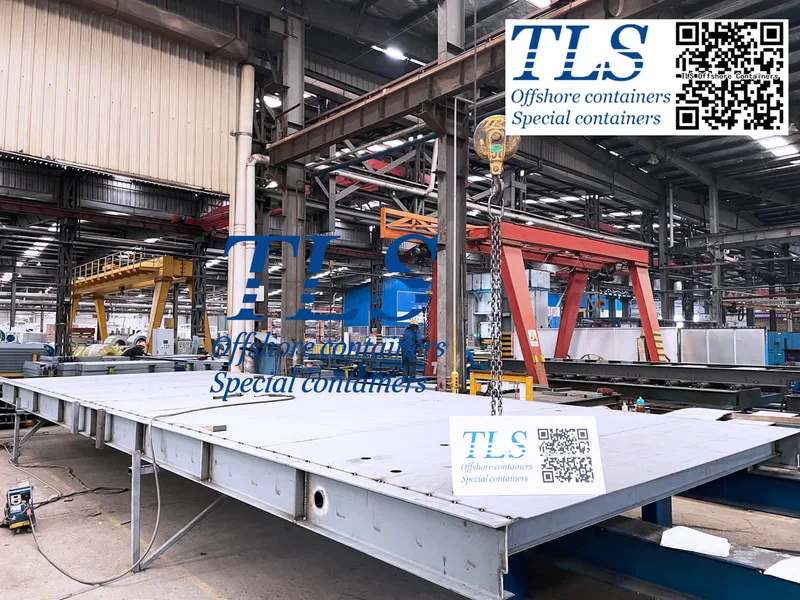
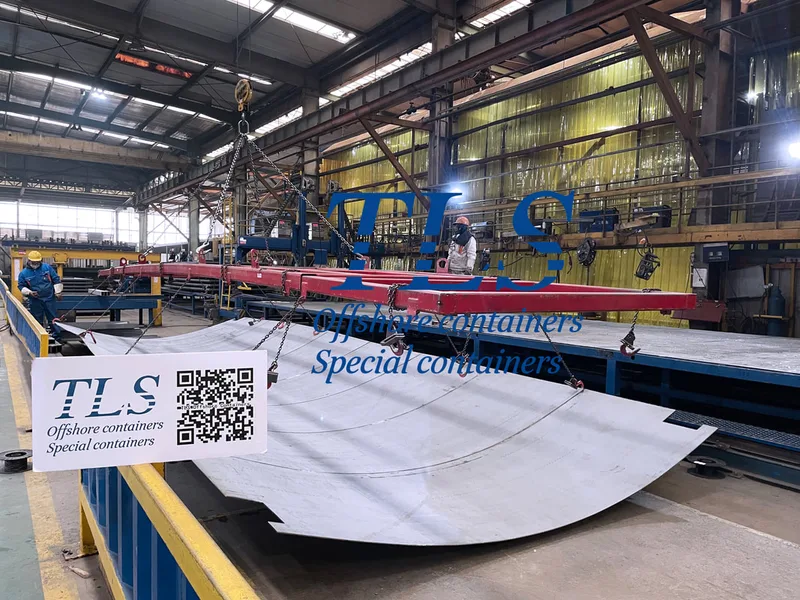
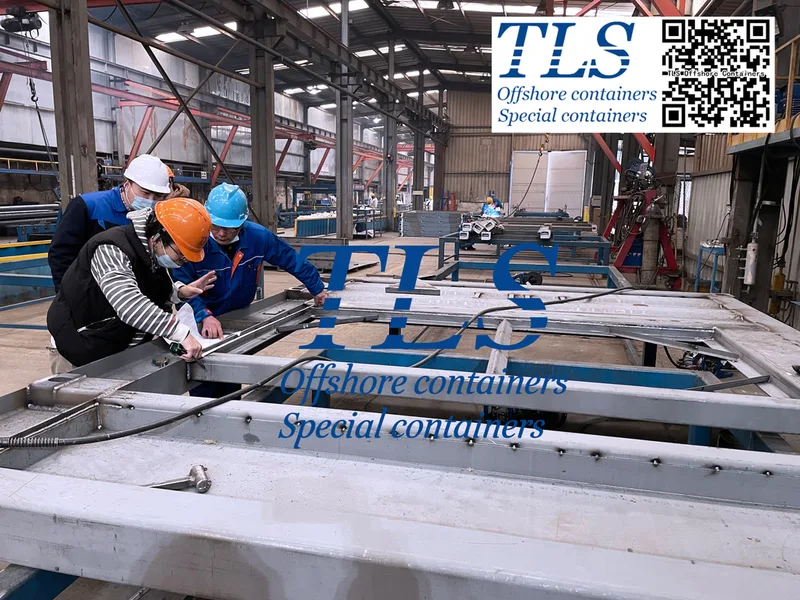
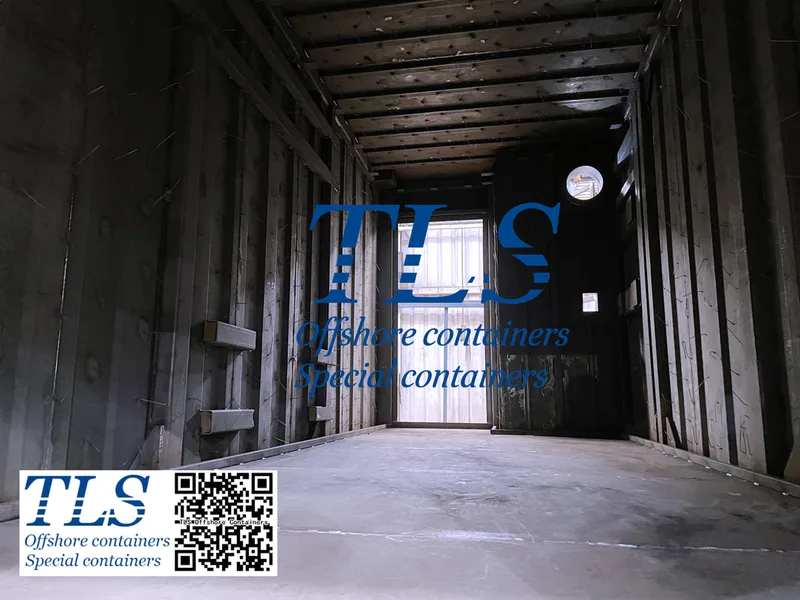
The customized ultra-wide laboratory container is being assembled, we will follow up every process in real time, and we will take every detail seriously.
Rest assured, products tailored to your needs are sure to satisfy you.
Rest assured, products tailored to your needs are sure to satisfy you.